Long Island Cabinet Painting Services
Cabinets occupy a large part of the kitchen, so changing their finish can transform the room.
Cabinet Painting for a Clean, Updated Kitchen
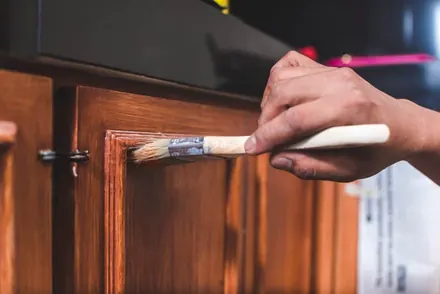
Cabinets occupy a large part of the kitchen, so changing their finish can transform the room. Professional cabinet painting can update color, reduce visible wear, and coordinate the cabinetry with countertops, flooring, backsplash, and new wall paint while keeping the existing layout.
Cabinet painting is also a detail-heavy project. Doors and drawers are handled repeatedly, cooking leaves residue, and factory surfaces may be too slick for ordinary wall paint. A durable result requires systematic cleaning, labeling, surface preparation, bonding primer where needed, a cabinet-appropriate coating, controlled application, and enough curing time before normal use.
Walker Painting offers cabinet painting on Long Island for suitable kitchen cabinets and bathroom vanities. At the free estimate, the team brings a finished sample cabinet door and photos so you can inspect the expected finish in your own light. This guide will help you understand the process and decide whether painting is a good fit for your cabinets.
Request Free Estimate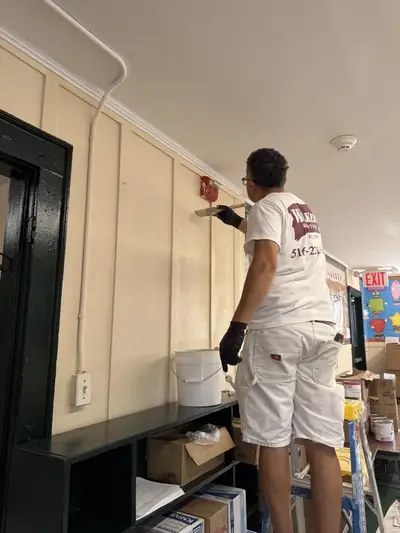
Is Cabinet Painting Right for Your Kitchen?
Painting works best when the cabinet boxes, doors, and drawers are structurally sound and you are satisfied with the general layout. It can be a practical choice when the finish or color feels dated but the cabinetry still functions well.
An assessment should look for:
- Loose hinges or damaged hardware
- Peeling laminate or failing existing coatings
- Grease, wax, polish, or silicone contamination
- Swollen material from water exposure
- Deep damage, splitting, or unstable joints
- Open grain or texture that may remain visible
- Doors that rub, sag, or do not align
Painting cannot correct every problem. Water-damaged panels, failing veneers, broken boxes, or a layout that does not meet your needs may call for repair, refacing, or replacement. A professional should explain the visible limitations before work begins.
If the cabinet update is part of a broader room refresh, coordinate it with interior painting so the wall, ceiling, trim, and cabinet colors work together. You can also explore our residential painting services for a whole-home plan.
Why Cabinet Preparation Is Different From Wall Preparation
Kitchen cabinets collect airborne cooking oils, hand residue, cleaning products, and polish. Even when they look clean, contamination can interfere with adhesion. Cabinet doors also have edges, profiles, corners, and contact points that require close attention.
A professional process generally includes degreasing with a product suited to the surface, rinsing or residue removal as required, and allowing everything to dry. Hardware is removed, and doors and drawers are labeled so they return to the correct openings. Glossy surfaces are sanded or otherwise prepared to promote adhesion. Damage is repaired within the agreed scope, and dust is removed before primer or finish is applied.
Skipping these steps may save time at first, but it can leave the coating vulnerable around handles, corners, and frequently touched edges.
The Professional Cabinet Painting Process
Inspection and sample discussion
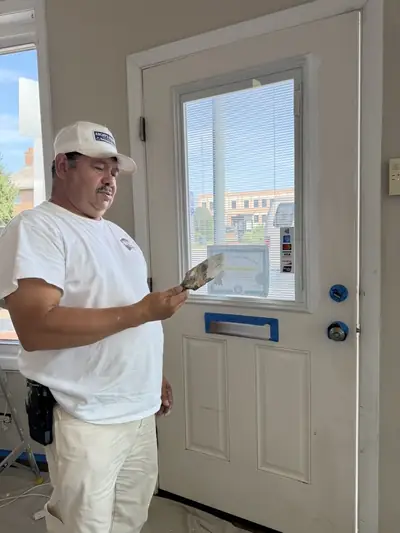
The painter identifies the cabinet material, existing finish, damage, and desired appearance. Because coatings can behave differently on wood, medium-density fiberboard, laminate, and factory finishes, a test area or sample door may be useful.
Documentation and setup
Doors, drawers, and hardware are labeled. The work area is isolated, and floors, counters, appliances, walls, and nearby rooms are protected. The plan should state whether doors will be finished on-site or in a separate controlled space.
Cleaning and surface preparation
Surfaces are degreased, repaired as agreed, sanded or abraded, and cleaned of dust. Existing failed coatings must be addressed before a new system is applied.
Priming
A compatible bonding or stain-blocking primer is applied when the substrate and finish system require it. Primer choice is especially important over slick surfaces, tannin-rich wood, or unknown previous coatings.
Finish application
Cabinet coating is applied in thin, controlled layers by spraying, brushing, rolling, or a combination. Spraying can create a smooth appearance on doors and drawer fronts, while brushing or fine rolling may be practical for installed boxes. The method should suit the product, environment, and finish expectations.
Drying, curing, and reassembly
Parts are allowed to dry and develop enough hardness for careful handling before reassembly. Doors and drawers are aligned, hardware is installed, and protective bumpers may be replaced. Full cure can take longer than surface dry time, so gentle use is important after the project.
Cabinet Paint, Wall Paint, and Coating Selection
Cabinets need a coating designed for frequent touch, cleaning, and blocking resistance. Blocking occurs when two painted surfaces stick together after contact, such as a door meeting the cabinet frame. Ordinary wall paint may not provide the hardness or leveling expected for cabinetry.
Product selection should account for the substrate, primer, application method, ventilation, desired sheen, color, and cure schedule. The primer and finish need to function as a compatible system. Ask the painter to identify the exact products in the proposal and explain how long you should wait before cleaning or heavy use.
Choosing a Cabinet Color
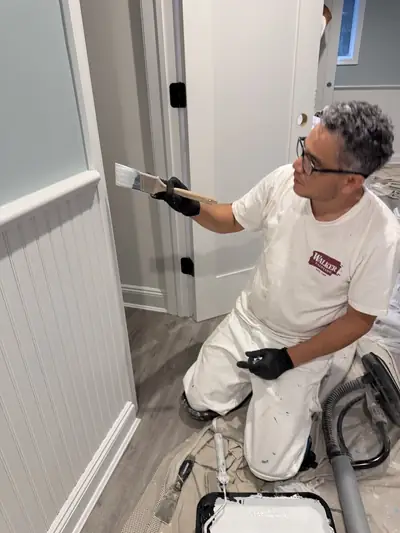
Start with permanent or expensive features: countertops, tile, flooring, appliances, and adjacent wood tones. Cabinet color should relate to these elements under the kitchen’s actual lighting.
Light colors can make cabinetry feel visually lighter, but they may reveal grime around handles. Deep colors create contrast and can look dramatic, yet they may show dust, fingerprints, or small surface variations. Mid-tone colors can balance warmth and practicality.
Two-color kitchens can work when there is a clear reason for the contrast, such as a darker island paired with lighter perimeter cabinets. Keep the palette connected through undertones, hardware, counters, or backsplash. Sample the proposed color vertically on a door-sized surface if possible; a small horizontal card does not show how the color will feel across the room.
What Finish Is Best for Painted Cabinets?
Cabinet coatings are commonly available in satin, semi-gloss, and related manufacturer-specific finishes. More sheen can emphasize profiles and make cleaning easier, but it can also highlight surface texture and preparation flaws. A softer sheen may feel more contemporary and forgiving, depending on the product.
The best finish is the one supported by the chosen cabinet coating system and suited to your cleaning habits, lighting, and preferred appearance. Evaluate a sample rather than relying only on the sheen name because names and gloss levels vary across brands.
What Cabinet Painting Does Not Hide
Paint changes color and creates a new coated surface, but it does not automatically erase every characteristic underneath. Open wood grain may remain visible unless the scope includes a separate filling process. Deep dents, panel seams, old hardware holes, and uneven previous coatings may still read through the finish.
If you are changing from exposed wood to a light solid color, natural tannins or stains may require special primer and additional work. If you want a furniture-smooth result, define that expectation during the estimate so the painter can price the preparation and sample process correctly.
Coordinating Cabinets With the Rest of the Room
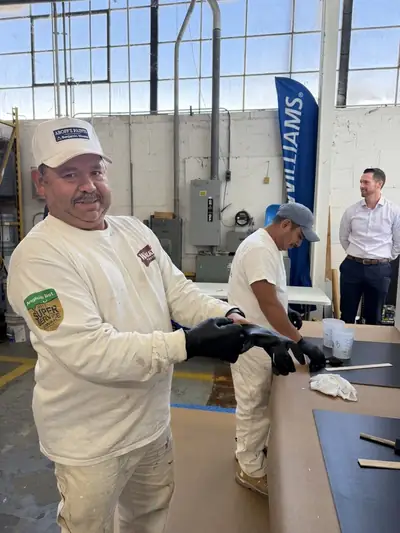
A cabinet project often looks best when the surrounding surfaces are considered at the same time. Wall color may need to shift once a dark wood cabinet becomes white, green, blue, or another solid color. Trim and ceiling paint can also affect how clean the final palette appears.
Plan the sequence around other trades. Countertop, backsplash, flooring, electrical, plumbing, and hardware changes can damage new paint if scheduled in the wrong order. Confirm who will disconnect appliances, remove plumbing fixtures, install hardware, or complete carpentry adjustments.
Caring for Newly Painted Cabinets
Fresh coatings need time to cure. During the early period, operate doors and drawers gently, avoid hanging damp towels on them, and keep splashes from sitting on the surface. Do not scrub or use aggressive cleaners until the painter’s recommended cure period has passed.
For routine care, use a soft cloth and a mild cleaner approved for the finish. Wipe spills promptly, especially around sinks, dishwashers, coffee makers, and cooking areas. Avoid abrasive pads and harsh chemicals unless the coating manufacturer specifically permits them.
Questions to Ask a Cabinet Painting Contractor
- Have you inspected the cabinet material and current finish?
- How will doors, drawers, and hardware be labeled?
- What cleaning and sanding process is included?
- Which primer and cabinet coating will be used?
- Where will doors and drawer fronts be finished?
- How will dust, fumes, and overspray be controlled?
- Is grain filling or major repair included?
- When can the cabinets be reassembled, cleaned, and used normally?
- Are new hardware installation and hinge adjustments included?
Detailed answers make it easier to compare the finish standard, process, and total scope.
Request a Cabinet Painting Estimate on Long Island
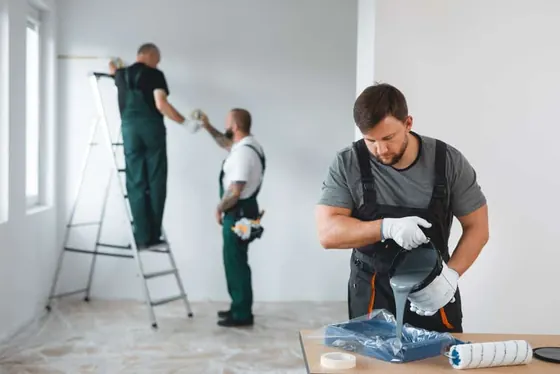
Cabinet painting can give a familiar kitchen a more current, cohesive appearance when the surfaces and process are a good match. Walker Painting can inspect your cabinets, discuss samples and finish expectations, and prepare a written scope.
Call 516-447-2732 or request a free on-site estimate for cabinet painting on Long Island. For exterior curb appeal projects, visit our exterior painting service page.
The part most painters skip is the part we’re known for
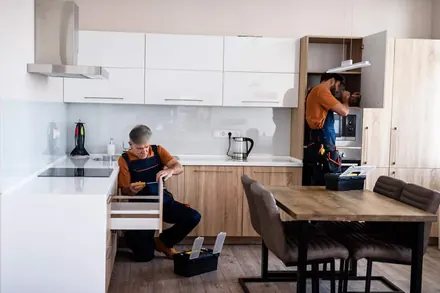
Prep, protection and paperwork. It is not glamorous, and it is the whole difference between a paint job that lasts and one that doesn’t.
Your home gets protected
We move everything to the center of the room, use casters so nothing scars the floor, and lay heavy canvas drop cloths, never plastic sheeting underfoot.
Lead-safe certified
We are a certified lead paint renovator and have completed the full certification coursework, which matters on almost every pre-1978 Long Island home.
One-year written warranty
Every paint job is covered by a one-year warranty against all paint failure. It is written down, and you get a copy.
Crews you can vet
Every employee is vigorously screened with multiple references. Most of our people have been with Walker Painting for 15 years.

Rated 5.0 across 300+ Google reviews
WOW, thank you to Sal and his team. The professionalism and flexibility working with Sal was like no other. We would happily refer them to anyone looking for a team of caring people who do a tremendous job.
They are fully staffed, which is rare.
Paula’s exterior came with significant rotted wood. The crew handled the repairs without delay, and leaned on Dave and Sal to pick shades that stayed true to her home’s classic traditional style.
Cabinet Painting FAQs
How long does cabinet painting take?
The schedule depends on the cabinet count, condition, material, repair needs, coating system, application method, drying conditions, and cure requirements. Ask for a project-specific timeline that includes setup and reassembly.
Can all cabinets be painted?
Many wood, engineered wood, and previously finished cabinets can be painted with the correct preparation and coating system. Severely damaged boxes, unstable veneers, or some contaminated surfaces may be poor candidates.
Will painted cabinets chip?
Any painted surface can be damaged by impact or abrasion. Careful preparation, compatible products, proper application, adequate curing, and normal maintenance reduce the risk of premature failure.
Can I keep my existing hardware?
Usually, yes, if it is functional and fits the existing holes. New hardware may require filling old holes or drilling new ones, which should be included in the scope before finishing begins.
Other services we offer
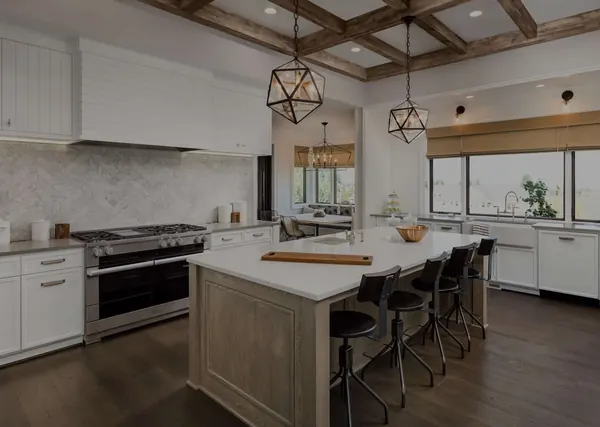
Interior Painting
Transform your living spaces with careful prep, quality materials, and a color palette that brings your vision to life.
Learn more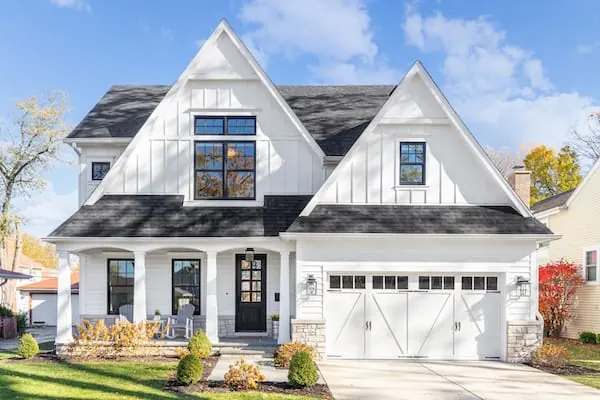
Exterior Painting
Protect and elevate your home’s curb appeal with durable, weather-ready finishes built for Long Island seasons.
Learn moreCarpentry & Repairs
Beyond painting, we restore the structural integrity and beauty of your space with expert carpentry and repair work.
Learn more
Power Washing
Comprehensive power washing to clean and prep your surfaces, restoring the brilliance of your exterior spaces.
Learn more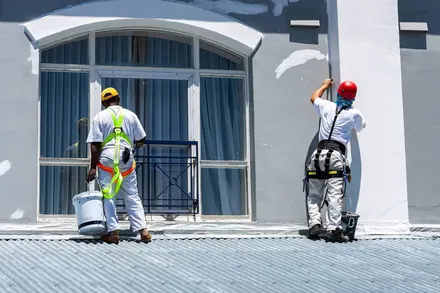
Commercial Painting
High-quality paint and skilled workmanship delivered on time and on budget, with minimal disruption to your operations.
Learn more
Color Consulting
Enjoy a free consultation with professional interior designers (whole-house projects) to select the perfect palette.
Learn more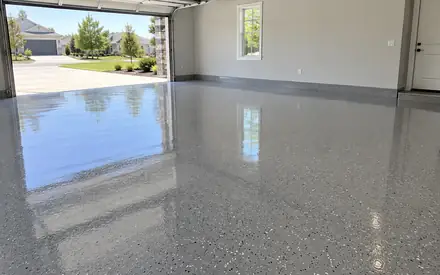
Epoxy Flooring Installation
Durable, high-gloss epoxy floor coatings installed in garages, basements and commercial spaces, built to handle daily wear.
Learn moreNot sure where to start?
Tell us about your project and we’ll recommend the right approach.
Request Free EstimateRequest your free estimate
Tell us about your project and we will get back to you fast. Get an estimate today. Paint tomorrow.
- Free on-site estimate, no obligation
- Nassau & Suffolk licensed, fully insured
- One-year written warranty on every job
- No job too small, even if it’s just one room
Get your free quote
Takes about a minute. We’ll follow up personally.
Request Free Estimate- One minute to complete
- No obligation, no pressure
- Ask about the Painter For A Day special
Prefer to talk? Call 516-447-2732